I'm working on a mixed media piece. (Some of the background fabric was shown in yesterday's post.) It will be a tryptich-style for the main elements, in a sea theme, but on a stenciled, painted, and quilted background, which looks like sand.
Using my Silhouette and a seaweed cut file from the Silhouette studio, I created a vinyl mask for the seaweed, then adhered it to the fabric and applied Lumiere paint. However, it was too wet, and bled a lot around the stencil edges. My son Jeremy wanted it, though, so I decided to use it as practice piece for the background to the mixed-media piece, and to give it to him when it's done.
With the Silhouette and a seahorse cutfile, I used Shiva paintsticks to add two seahorses. Being a semi-solid, I didn't have trouble with the Shiva paint bleeding under the vinyl mask. After the paints had cured and been ironed, I was able to quilt the images today. Using Madeira Glamour threads to add more sparkle (because Jeremy loves all things shiny), I added detail to the seahorses and outlined the seaweed.
When I showed it to Jeremy and asked if he wanted wavy lines for the water, he told me I needed to paint a few areas with blue - not too much - and use that for the water. While he didn't realize it, it was a great, out-of-the-box challenge for me. I pulled out my Twinkling H2O watercolors to add the color and yet more shine. (These paints have mica flakes in them for added shimmer.) While it's not perfect, I like the way it came out and it was a great practice piece.
Now it's drying, and I hope to finish quilting in the water tomorrow, and get it bound (or perhaps edge finished with some fibers) and hanging in his room. And then to complete the mixed media piece...
Sunday, July 17, 2011
Saturday, July 16, 2011
Surface Design Madness
Time got away from me and I'm finally posting about the surface design class I took with Susan Brubaker Knapp at the NC Quilt Symposium.
We started off playing with Tyvek - that plastic stuff they wrap houses in before putting on siding. It got painted with Lumiere paints, then you place it between parchment paper and heat it with an iron and it gets all bubbly and the colors intensify. Depending on which side (painted or not) is up, you get bubbles or craters. The fish below is 3 pieces; the fins were odd shapes that shrunk like that on their own. I did a little "surgery" on the fish body (the tail fins) to get the shape I wanted. These are 3 separate pieces, but can now be glued or sewn onto whatever base I want to use.
The beads to the left of the fish are tyvek beads, made by painting, wrapping around skewers, then heating. They were then wrapped with wire and beads. The bit up at the top is angelina, heated on an inked rubber stamp.
We did a lot with the Lumiere paints. In the next image, fusible web was painted with Lumiere and when it was mostly dry, ironed onto fabric. I had one large piece of fusible web, painted with blue and blue-green, and cut it in half. You can see how the background color makes it look bluer (on the white fabric ) and more silver (on the black fabric). The bits that peeled away were still wet when ironed, which could be used as a deliberate technique for making something look distressed. But I'll have to be careful to place parchment paper over them if I have to iron them, unless I want to glue my iron to the ironing board!
Susan is a fabulous teacher - she did a great job of explaining her techniques, the various modifications that could be made, and then stepping back and letting us "play". I'd happily take another class with her! Here is a link to her blog, Blue Moon River.
We started off playing with Tyvek - that plastic stuff they wrap houses in before putting on siding. It got painted with Lumiere paints, then you place it between parchment paper and heat it with an iron and it gets all bubbly and the colors intensify. Depending on which side (painted or not) is up, you get bubbles or craters. The fish below is 3 pieces; the fins were odd shapes that shrunk like that on their own. I did a little "surgery" on the fish body (the tail fins) to get the shape I wanted. These are 3 separate pieces, but can now be glued or sewn onto whatever base I want to use.
The beads to the left of the fish are tyvek beads, made by painting, wrapping around skewers, then heating. They were then wrapped with wire and beads. The bit up at the top is angelina, heated on an inked rubber stamp.
We did a lot with the Lumiere paints. In the next image, fusible web was painted with Lumiere and when it was mostly dry, ironed onto fabric. I had one large piece of fusible web, painted with blue and blue-green, and cut it in half. You can see how the background color makes it look bluer (on the white fabric ) and more silver (on the black fabric). The bits that peeled away were still wet when ironed, which could be used as a deliberate technique for making something look distressed. But I'll have to be careful to place parchment paper over them if I have to iron them, unless I want to glue my iron to the ironing board!
This is lumiere painted onto steam a seam fusible web that had been pre-wet. The pre-wetting helped the paint colors run together. It was ironed on wet. The left side of the image below is the painted fusible web - bright and shiny. However, I ended up liking the back side even more - some of the paint came through to the back, giving a subtle shine in organic shapes. I think it would be great for backgrounds.
We also played with diluted Lumiere. I took a bit of my plain white fabric and dipped into diluted purple paint. The shine remained, but I over-diluted it and it was a barely there lilac color after wringing out the fabric. So I added a few globs of teal and purple and smooshed the fabric all around and ended up with this. I'm currently using it as background fabric for some digitally-printed images.
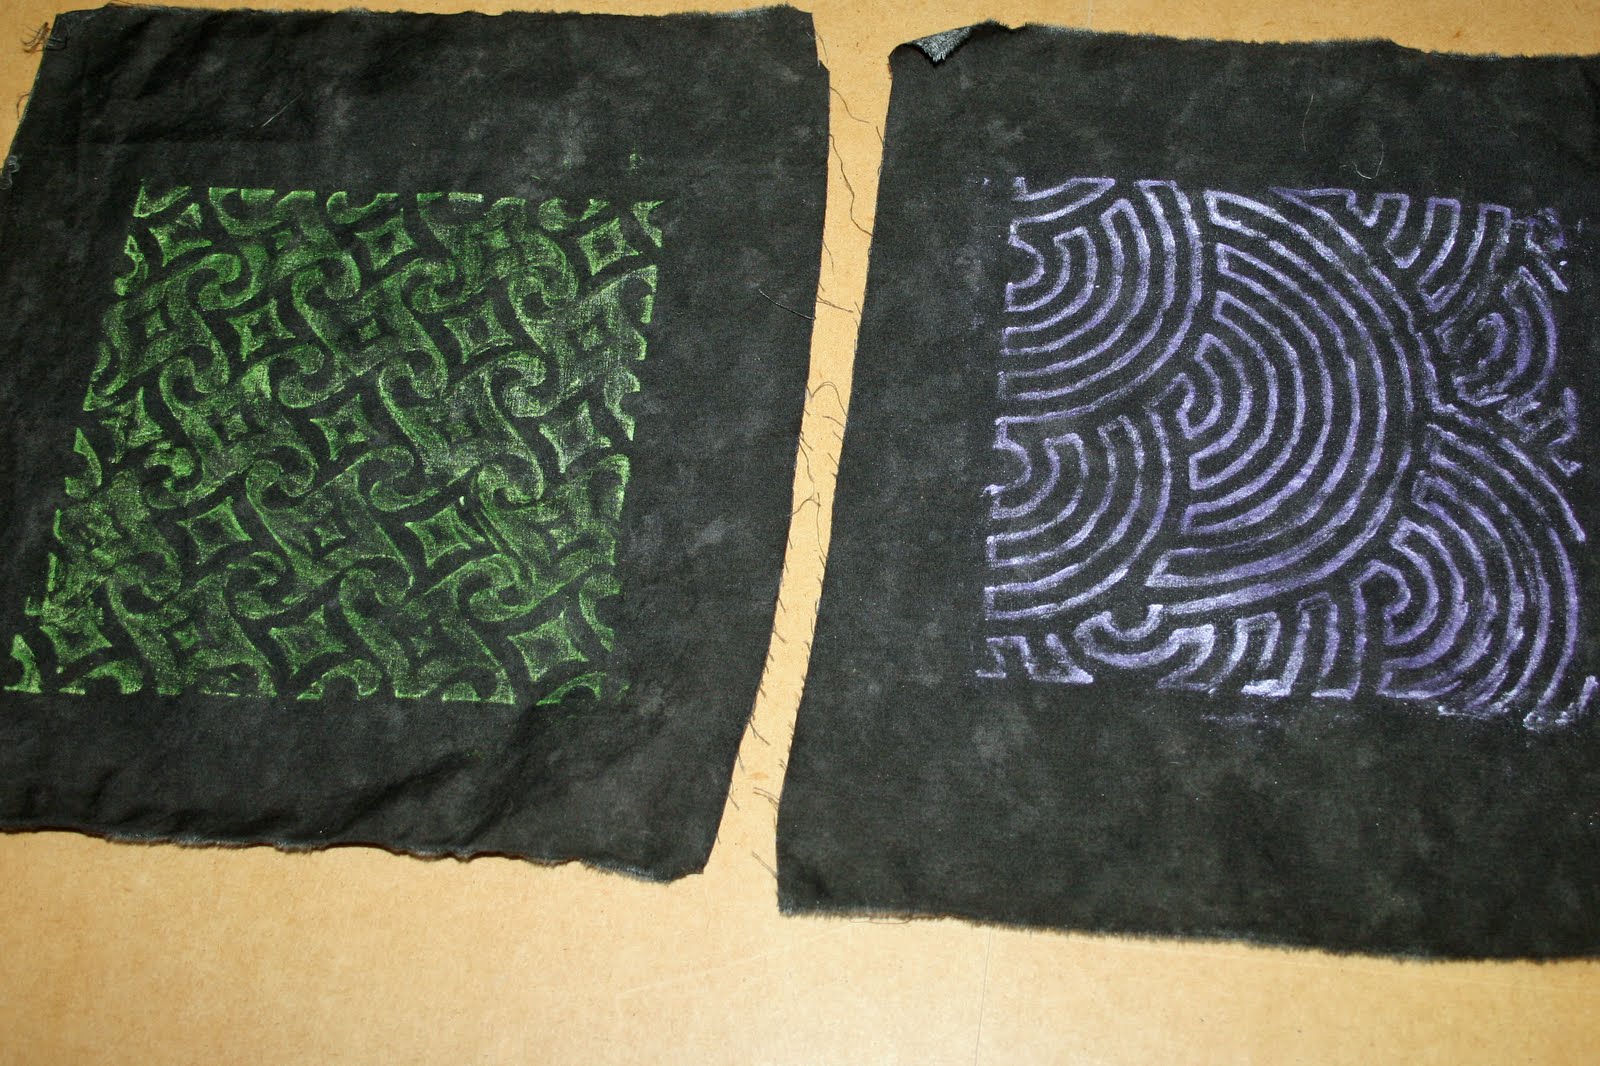
We played with Shiva sticks too, using them on top of templates. I was boring and just did one color per plate. Some of the more adventurous gals mixed a bunch of images and created their own multi-patterned fabrics.
And here is, hands-down, my favorite piece of the day. We used Caran d'ache Neocolor crayons directly on the fabric to color an image, then used water and paintbrushes to paint them out. I am not practiced at drawing, but I do know (thanks to the inspiration wednesday videos that Donna Downey posts on her blog) how to draw a poppy. So I did that with purple crayons, and gave them a gold/orange background. I'll be quilting this piece and hanging it in my office/sewing room because it's just so bright and cheerful.
Susan is a fabulous teacher - she did a great job of explaining her techniques, the various modifications that could be made, and then stepping back and letting us "play". I'd happily take another class with her! Here is a link to her blog, Blue Moon River.
Monday, June 27, 2011
The Big Purse Alternative
I'm in two local quilting bees, one of which is Cyberbee. We meet quarterly or so, and "talk" via email otherwise. At our meeting a few months ago, Barbara showed us some darling purses made from placemats. (Yes, you read that correctly.) (ETA: Barbara has been in touch and told me that she got the pattern from Threads magazine, if you're looking to try it out for yourself.) These little, 2-pocket bags, in which you could put your license, credit card, check book, and cell phone, are a perfect alternative to lugging a big purse. Great for quick errands, or kids' sports games/practices.
I ran out and picked up a few placemats, along with some pretty trims for shoulder straps and big, chunky buttons. When selecting placemats, I found that really heavy/thick ones don't work very well (hard to fold, hard to sew through). Placemats with pretty borders along one of the short sides worked best, as those borders become the flap and add a nice decorative touch.
Here are the 4 I made over the weekend (straps were tucked inside for the picture):
I made a minor change from Barbara's models - I sewed down a triangle of fabric on the outside of the front pocket so that it could be accessed more easily. Here's a picture of an open purse, showing the pocket and the strap:
Lessons learned (the hard way, of course :) )
Figure out placement and sew the buttons on FIRST.
Add the button loop and the shoulder straps BEFORE you sew the sides together.
Keep the seam ripper handy. (Not a lesson from this project, but one I learned a long time ago and of which I was rather strongly reminded over the weekend.)
These will be given to Mom, Margaret, Kitty, and Cat. Surprise!
I ran out and picked up a few placemats, along with some pretty trims for shoulder straps and big, chunky buttons. When selecting placemats, I found that really heavy/thick ones don't work very well (hard to fold, hard to sew through). Placemats with pretty borders along one of the short sides worked best, as those borders become the flap and add a nice decorative touch.
Here are the 4 I made over the weekend (straps were tucked inside for the picture):
I made a minor change from Barbara's models - I sewed down a triangle of fabric on the outside of the front pocket so that it could be accessed more easily. Here's a picture of an open purse, showing the pocket and the strap:
Lessons learned (the hard way, of course :) )
Figure out placement and sew the buttons on FIRST.
Add the button loop and the shoulder straps BEFORE you sew the sides together.
Keep the seam ripper handy. (Not a lesson from this project, but one I learned a long time ago and of which I was rather strongly reminded over the weekend.)
These will be given to Mom, Margaret, Kitty, and Cat. Surprise!
Friday, June 17, 2011
Quilted and Needle Felted iPad Bag
For our 10th anniversary, Ryan spoiled me with an iPad2, with a slick little magnetic cover. I love it, and it's been great for all the waiting-around time I have with the kids (carpool, games, practices, etc.).
At the NCQSI a few weeks ago, I got some fun fibers from the YLI booth - organic cotton, hand dyed lacings (think shoe lace like), which, if you pulled up one thread, ruched beautifully.
I pulled out my needle felter, some blue scrim, various wool pre-felts and wool rovings, and some silk carrier rods and had fun making this fabric. After the wools and silks were attached, I machine quilted it using variegated thread in a plaid pattern. I then ruched up some of the lacing and added it to the top of the piece.
Today I made it into a padded bag to hold my iPad. While I had picked out a glorious sunflower fabric to be the back side, Jeremy wanted something a little less "girly looking" for when he gets a chance to use the iPad. So I switched to this mosaic-style fabric instead.
I decided to use piping around the top edge, to give a more finished look, and a flap to make sure that the iPad doesn't fall out. I had recently picked up some of Nancy Zieman's Wrap 'n Fuse Piping and decided to give it a try.
I had two pieces of piping in about 2 minutes (cutting out the fabric strips and ironing it around the piping). I made a 3" wide flap, added the buttonhole, both miraculously BEFORE sewing the bag together.
At the NCQSI a few weeks ago, I got some fun fibers from the YLI booth - organic cotton, hand dyed lacings (think shoe lace like), which, if you pulled up one thread, ruched beautifully.
I pulled out my needle felter, some blue scrim, various wool pre-felts and wool rovings, and some silk carrier rods and had fun making this fabric. After the wools and silks were attached, I machine quilted it using variegated thread in a plaid pattern. I then ruched up some of the lacing and added it to the top of the piece.
Today I made it into a padded bag to hold my iPad. While I had picked out a glorious sunflower fabric to be the back side, Jeremy wanted something a little less "girly looking" for when he gets a chance to use the iPad. So I switched to this mosaic-style fabric instead.
I decided to use piping around the top edge, to give a more finished look, and a flap to make sure that the iPad doesn't fall out. I had recently picked up some of Nancy Zieman's Wrap 'n Fuse Piping and decided to give it a try.
I had two pieces of piping in about 2 minutes (cutting out the fabric strips and ironing it around the piping). I made a 3" wide flap, added the buttonhole, both miraculously BEFORE sewing the bag together.
Wednesday, June 15, 2011
End of the Summer Baseball Season
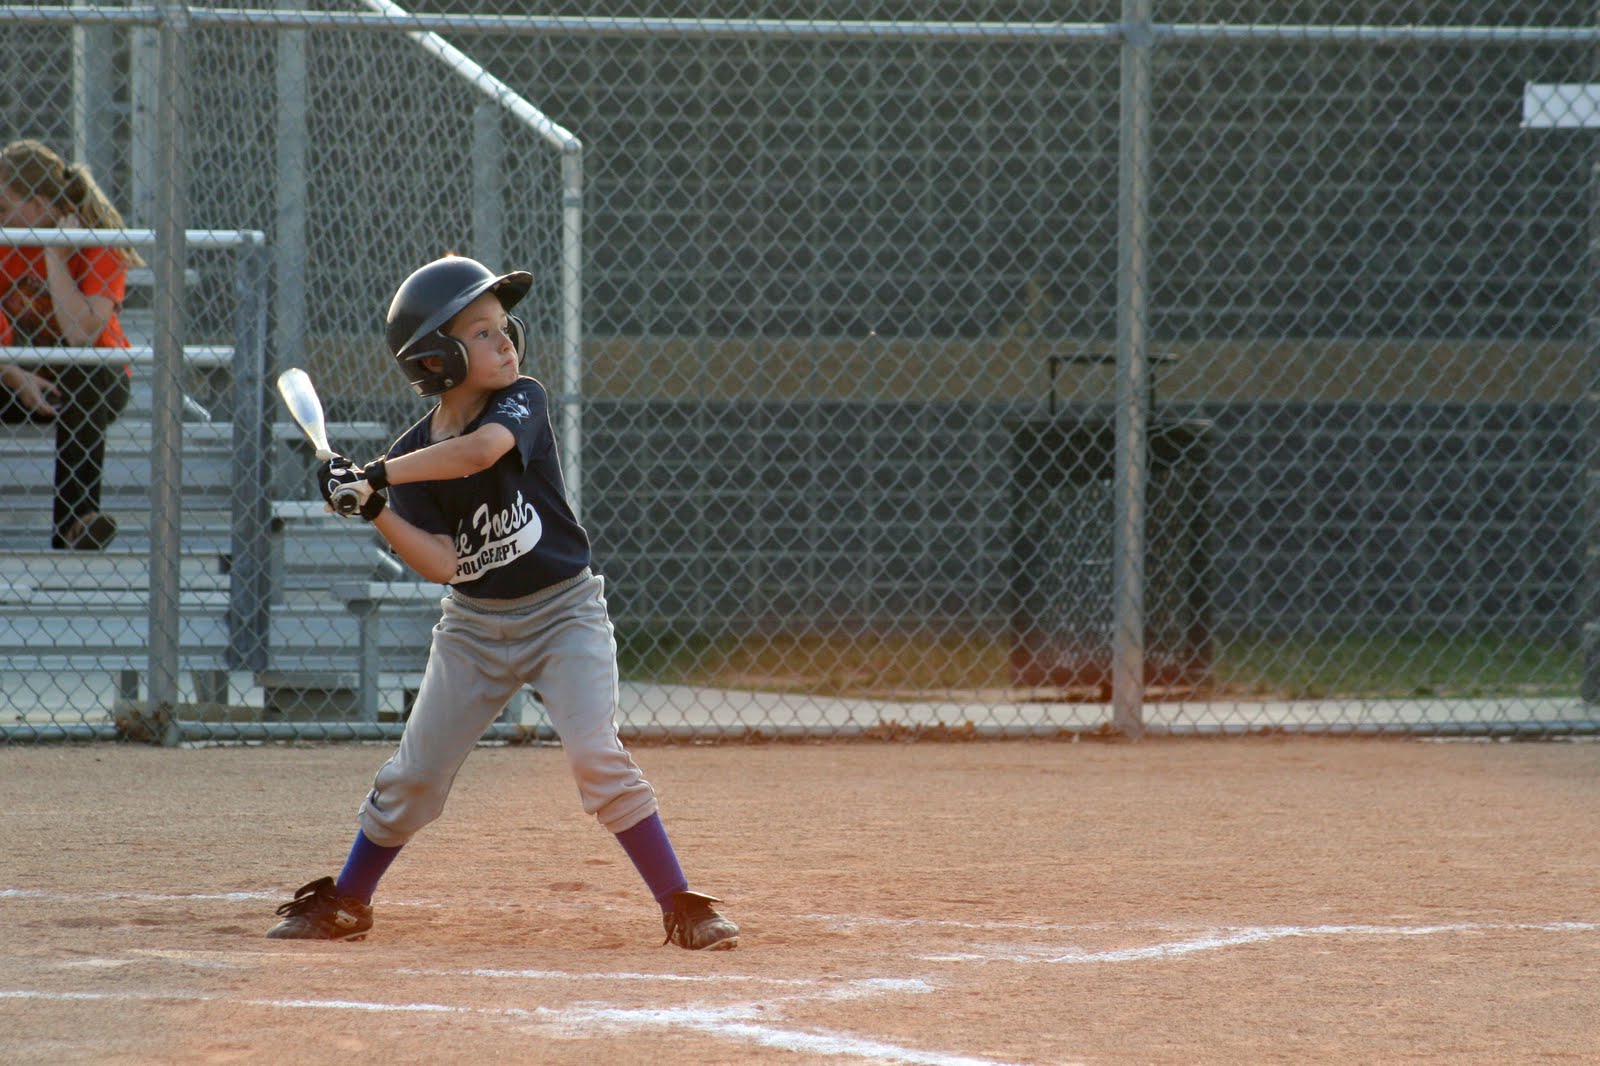
Matthew was on the Defenders team this year, and they did great, ending the season with a 9-1 record. He missed 3 of the games due to a broken arm and the stomach bug, but really enjoyed being on the team. Here are a few pix from last night's game, one of him batting (just look at the determination on his face), and one of him in the "ready" position at shortstop (taken from behind first base, with a runner on the base).
Jeremy could care less about baseball, and either plays in the adjoining field or - when Ryan gives him his iPhone - spends the time playing video games, as he did last night.
In the fall, Matthew will begin machine pitch. Should be interesting.
Jeremy could care less about baseball, and either plays in the adjoining field or - when Ryan gives him his iPhone - spends the time playing video games, as he did last night.
In the fall, Matthew will begin machine pitch. Should be interesting.
Monday, June 6, 2011
NC Quilt Symposium
I spent Saturday and Sunday at the NCQSI, the annual state-wide quilt show, which was held at Peace College in Raleigh this year. I had Saturday morning free to view the show, and it was a nice one this year.
This appliqued bird quilt was a real showpiece. It was entirely hand-quilted. The corners between the blocks had birds quilted into them, and it appeared that no two were the same. I think that the applique patterns were used as the source for the quilting patterns for the birds.
This spectacular quilt, Daffodil O'Keefe by Katherine McNeese, had me making second and third walks through the section it was hanging in so I could see it again. So realistic you could reach out and pick it!
Maggie Trees a Coon, by my friend Jeanne
A marvelous miniature Baltimore album, and a detail of it. Just look at the hand quilting!
This beauty was made from an antique table cloth of the creator's husband's grandmother. It was gorgeously quilted.
The vendor mall enjoyed my visit, too. I got some wonderful wool roving from Annie's Keepsakes; to-die-for hand-died silk handkerchiefs, organic cotton ricrac (which will ruche automatically if you pull one thread from an unraveled end), and gimp from YLI; and a felting book from Schoolhouse. After that, I sat on this marvelous rocking-chair porch in the quad and relaxed for a bit before meeting friends for lunch and my afternoon class. More about that tomorrow!
This was Best of Show, Swamp Hibiscus by Judith Heyward. It was beautufully designed and the machine quilting was marvelous.
This appliqued bird quilt was a real showpiece. It was entirely hand-quilted. The corners between the blocks had birds quilted into them, and it appeared that no two were the same. I think that the applique patterns were used as the source for the quilting patterns for the birds.
This spectacular quilt, Daffodil O'Keefe by Katherine McNeese, had me making second and third walks through the section it was hanging in so I could see it again. So realistic you could reach out and pick it!
Maggie Trees a Coon, by my friend Jeanne
A marvelous miniature Baltimore album, and a detail of it. Just look at the hand quilting!
This beauty was made from an antique table cloth of the creator's husband's grandmother. It was gorgeously quilted.
The vendor mall enjoyed my visit, too. I got some wonderful wool roving from Annie's Keepsakes; to-die-for hand-died silk handkerchiefs, organic cotton ricrac (which will ruche automatically if you pull one thread from an unraveled end), and gimp from YLI; and a felting book from Schoolhouse. After that, I sat on this marvelous rocking-chair porch in the quad and relaxed for a bit before meeting friends for lunch and my afternoon class. More about that tomorrow!
Thursday, June 2, 2011
Washington DC trip
We spent Memorial Day weekend in Washington, DC. We took the subway (Jeremy's favorite) and walked around the National Zoo on Saturday. On Sunday, Matthew and Ryan headed to the Nationals-Padres game, including batting practice prior to the game. Here's Matthew after having his hat signed by Rick Ankiel. They had seats on the 3rd base line, right near third base, and enjoyed the game.
Jeremy wanted no part of the baseball game. He instead wanted to go to the Museum of Natural History and look at the gems in particular, and some of the other exhibits that interested him. Here he is in front of a huge slab of crystals found in Arkansas.
On the way home we stopped into Ikea so I could get a few storage items for my office/craft room. It was very hot here on Monday, and we were all glad for a swim in the afternoon.
It's hard to believe, but tomorrow's the last day of school for the boys. I've made these crayon monograms for their teachers to thank them for their hard work and creativity. (These have been a hot item on all the crafting blogs recently.)
Jeremy wanted no part of the baseball game. He instead wanted to go to the Museum of Natural History and look at the gems in particular, and some of the other exhibits that interested him. Here he is in front of a huge slab of crystals found in Arkansas.
On the way home we stopped into Ikea so I could get a few storage items for my office/craft room. It was very hot here on Monday, and we were all glad for a swim in the afternoon.
It's hard to believe, but tomorrow's the last day of school for the boys. I've made these crayon monograms for their teachers to thank them for their hard work and creativity. (These have been a hot item on all the crafting blogs recently.)
Friday, May 6, 2011
Crocus Quilt
After a year of nearly any sewing, my mojo has come back. I decided that instead of working on new items, to pull out UFOs and old patterns (bought ages ago) and get them finished up.
So in late February, desperate for spring, I pulled out Eileen Sullivan's Crocus pattern. It's a paper-pieced project. I'm pleased with the way it came out. I even got it up on the wall in late March and it really brightens my day to see it as I walk up the stairs.
Tuesday, May 3, 2011
In the Spring, a Young Man's Fancy Turns To...
Climbing trees.
And then falling out of them.
And ending up with a broken arm and a fluorescent yellow cast. He can't play baseball or football until it's off. But he is allowed to continue in tae kwon do.
And hey, at least he can still play video games. :)
This last picture has nothing to do with broken bones, but it is the entrance to our back yard. We had a good spring with no late frosts, and so the the wisteria is in full bloom, lushly draped over the arbor. I really need to trim it back so you can walk through without having to duck, but I won't touch it until it's done flowering. Down on the right is a lovely spread of coreopsis. Ignore the fact that I badly need to prune back all of the abelia.
And then falling out of them.
And ending up with a broken arm and a fluorescent yellow cast. He can't play baseball or football until it's off. But he is allowed to continue in tae kwon do.
And hey, at least he can still play video games. :)
This last picture has nothing to do with broken bones, but it is the entrance to our back yard. We had a good spring with no late frosts, and so the the wisteria is in full bloom, lushly draped over the arbor. I really need to trim it back so you can walk through without having to duck, but I won't touch it until it's done flowering. Down on the right is a lovely spread of coreopsis. Ignore the fact that I badly need to prune back all of the abelia.
Sunday, April 24, 2011
Happy Easter
We've had a busy week around here. The boys were on spring break (and fortunately I was between work projects), so lots of time to have fun. My in-laws arrived on Wednesday, so more fun and spoilage for the boys.
Our pool is open and the boys have been swimming 20-30 minutes or so on warm days. (The water's only about 68 degrees, so they're only in for a short while.)
We all went strawberry picking on Friday morning - got some gorgeous sweet berries. Most have been frozen and put away, but we've been snacking on some, and I made a strawberry pie for our dinner tonight. We've learned to have the kids wear red shirts when picking to minimize staining. Jeremy was so proud of himself "because I finally broke my bad habit of eating ALL of the berries and I'm putting some in the bucket."
Of course, last night we dyed eggs. All the standard colors, plus the traditional "ugly" eggs made when you mix a bunch of dye together for a lovely shade of yuck.
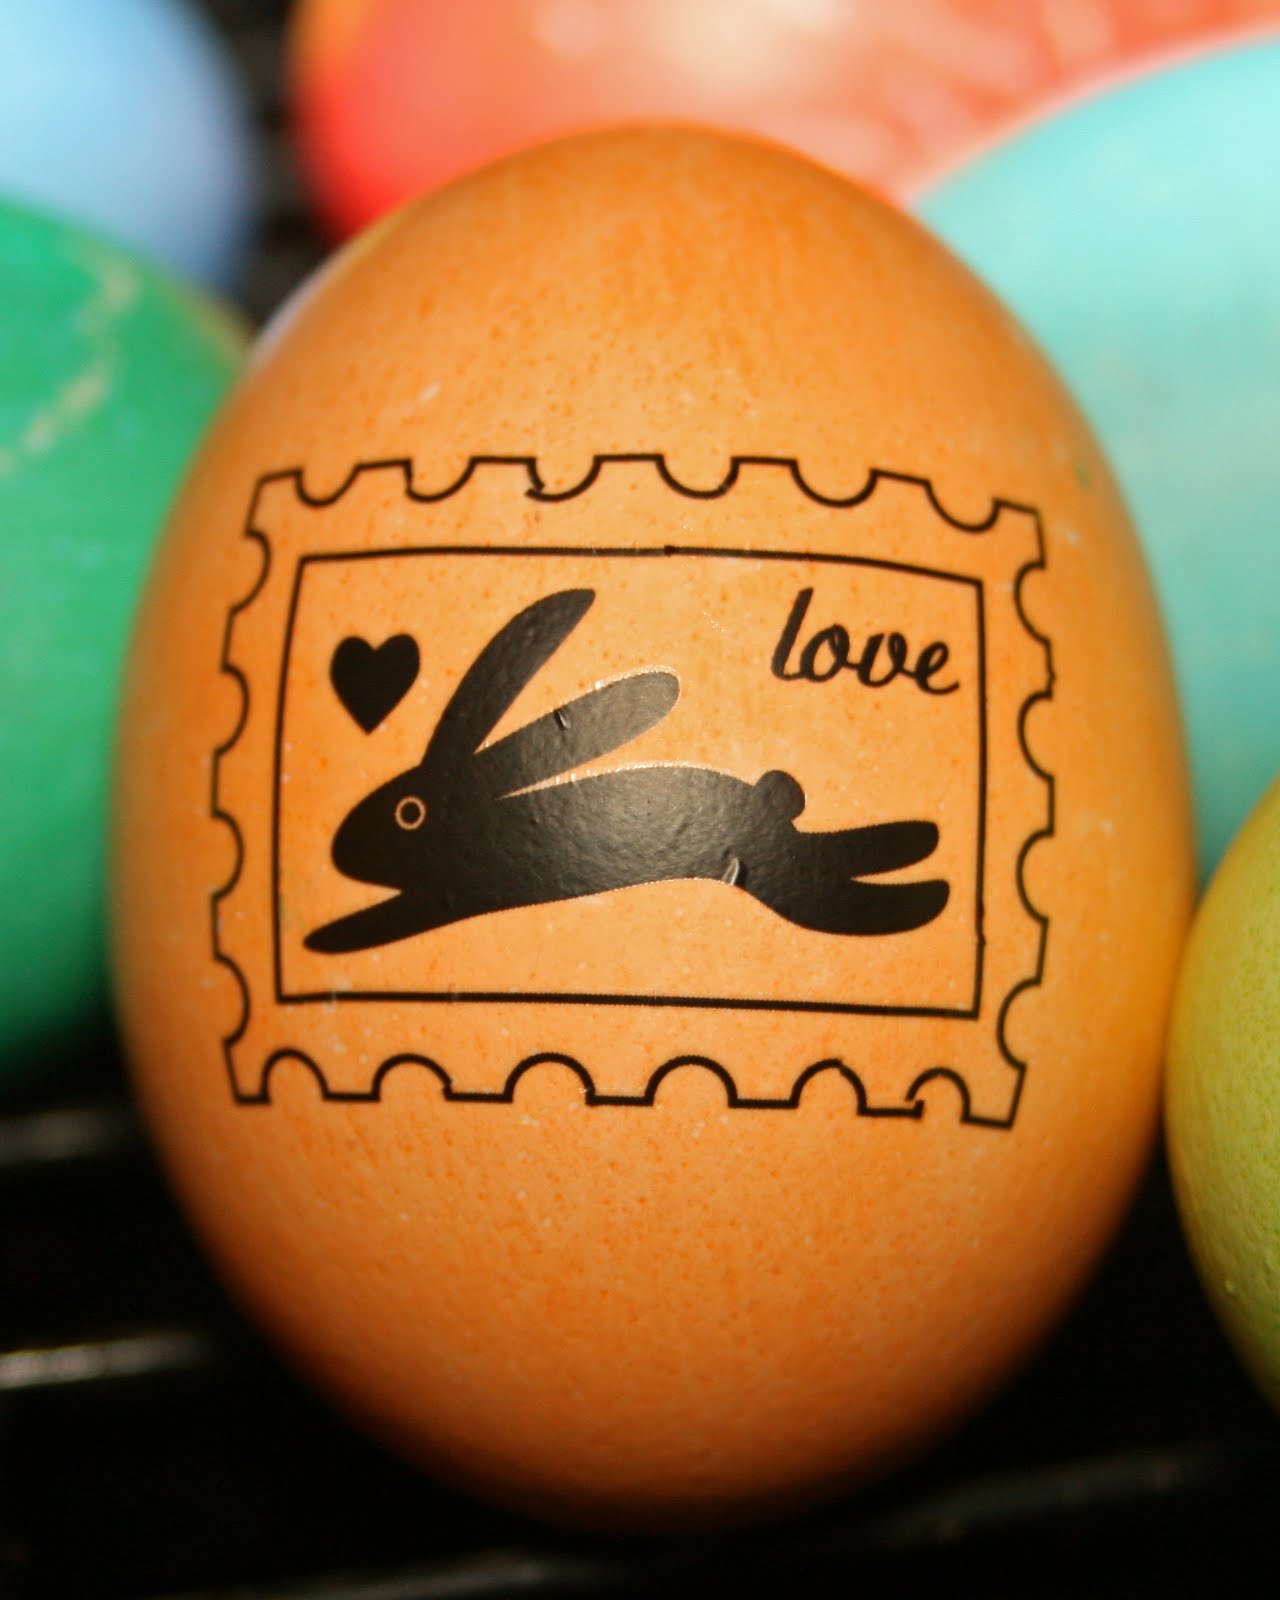
I tried to add rub-ons to the eggs. It turned out that only one brand (Maya Road) of the half-dozen brands I tried would adhere. But the ones that worked sure came out cute!
I hope you all have a happy Easter.
Our pool is open and the boys have been swimming 20-30 minutes or so on warm days. (The water's only about 68 degrees, so they're only in for a short while.)
We all went strawberry picking on Friday morning - got some gorgeous sweet berries. Most have been frozen and put away, but we've been snacking on some, and I made a strawberry pie for our dinner tonight. We've learned to have the kids wear red shirts when picking to minimize staining. Jeremy was so proud of himself "because I finally broke my bad habit of eating ALL of the berries and I'm putting some in the bucket."
Of course, last night we dyed eggs. All the standard colors, plus the traditional "ugly" eggs made when you mix a bunch of dye together for a lovely shade of yuck.
I tried to add rub-ons to the eggs. It turned out that only one brand (Maya Road) of the half-dozen brands I tried would adhere. But the ones that worked sure came out cute!
I hope you all have a happy Easter.
Subscribe to:
Posts (Atom)